How to Back Up QuickBooks Desktop Data Online
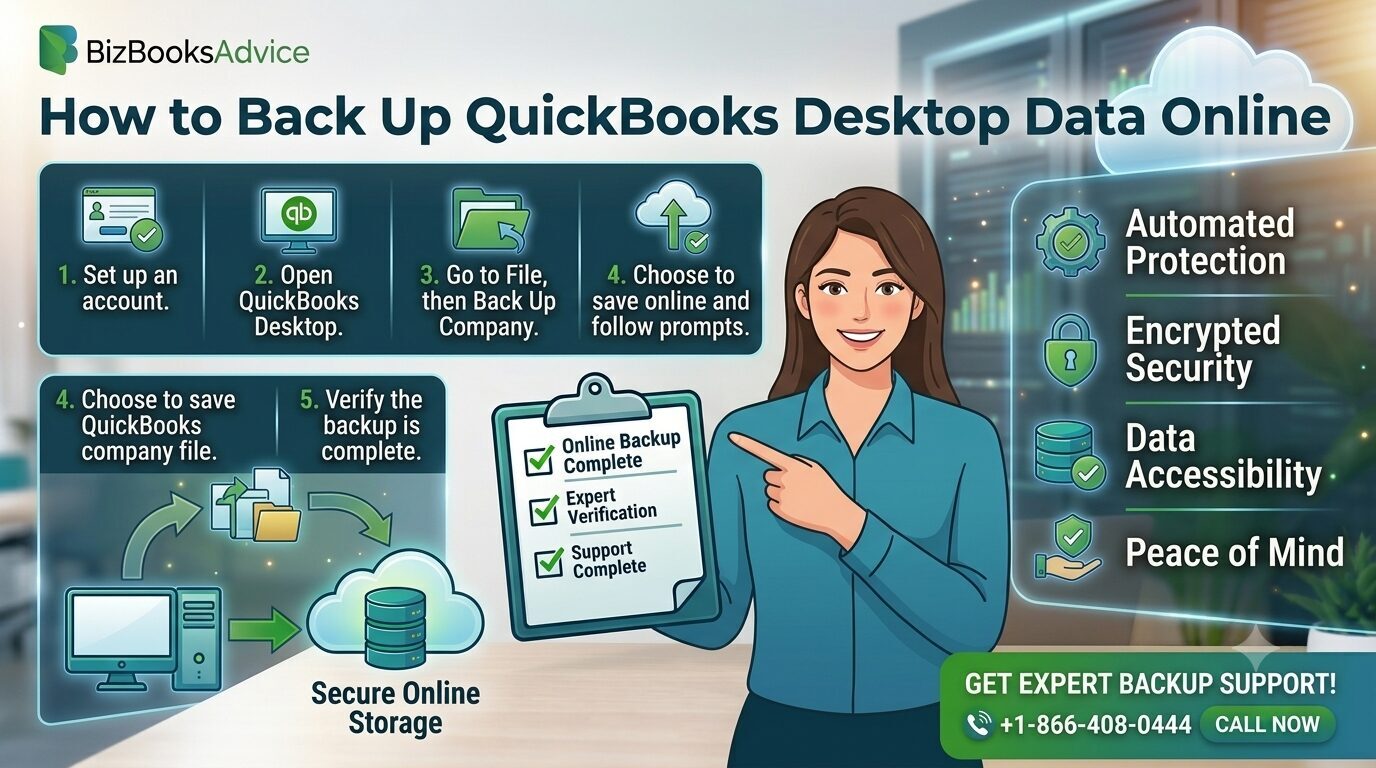
QuickBooks Desktop offers a built-in online backup service called Intuit Data Protect, which automatically backs up your company files (and optionally your entire computer) to secure cloud storage on a daily schedule. It's included free with QuickBooks Desktop Pro Plus, Premier Plus, and Enterprise subscriptions. Here's exactly how to set it up, what it covers, and how it compares to a manual QuickBooks backup guide approach.
What Intuit Data Protect Actually Does
Once set up, Intuit Data Protect runs automatically in the background, backing up your selected files daily without requiring you to remember to do it manually. It can back up just your QuickBooks company files, or your entire computer, depending on the plan and what you select during setup. Backups are stored securely off-site, which protects your data even if something happens to the physical computer itself — a meaningful advantage over local-only backups saved to the same machine or network.
Setting Up Intuit Data Protect: Step by Step
- Find where your company file is stored. Open QuickBooks and press F2 if you're not sure of the exact location.
- Open the setup flow. Go to File > Back Up Company > Set Up/Activate Online Backup
- Sign in with your Intuit Data Protect account email — note this is different from your regular QuickBooks login, so use the email you registered with specifically for the backup service
- Select your QuickBooks company file to include in the backup, then select Continue
- Choose additional folders to back up, if your plan covers full-computer backup rather than just QuickBooks files
- Set your backup schedule — daily automatic backup is standard
- Configure notification email settings, choosing whether you want to be notified on backup failure, backup success, or if your last good backup is older than a certain number of days
Once setup completes, Intuit Data Protect runs quietly in the background — look for a green padlock icon in your system tray to confirm it's active.
Restoring From an Online Backup
If you need to restore data from an Intuit Data Protect backup, open the Intuit Data Protect application (via the system tray icon), sign in, and select the restore option, choosing the backup date you want to recover from. Because backups run daily, you can generally restore to any recent point rather than only your most recent backup.
Keeping Intuit Data Protect Updated
Intuit periodically releases updates to the service, and staying current prevents many common issues:
- From QuickBooks, go to Help > Update QuickBooks
- Select the Update Now tab
- Confirm Data Protect is selected in the list, then select Get Updates
- To install: click the system tray's up-arrow icon, right-click the green padlock Intuit Data Protect icon, select About Intuit Data Protect, then Update
If you have automatic updates enabled in QuickBooks, this typically happens without manual intervention.
Online Backup vs. Manual Local Backup
Both have a place, and many businesses reasonably use both:
Online backup (Intuit Data Protect) protects against hardware failure, theft, fire, or other physical loss of your computer, since data lives off-site. It runs automatically, which removes the risk of forgetting to back up.
Manual local backup (File > Save Copy or Back Up) gives you an immediate, on-demand backup you control directly, useful before making major changes to your company file or when you want a backup you can access without an internet connection.
A reasonable approach: rely on Intuit Data Protect for your automatic daily safety net, and do a manual backup before any significant change to your file — a version upgrade, a large import, or before letting someone else make substantial edits.
Common Setup Issues
A persistent "Open Online backup" reminder that won't go away: Running the IDP Diagnostics tool (found within the Intuit Data Protect application) typically resolves this without needing to disable and re-enable the service entirely.
Backup fails or won't update: Confirm both QuickBooks and Intuit Data Protect are on their latest versions first, since a meaningful share of Data Protect issues are resolved simply by updating.
Setup on an older QuickBooks version: Intuit Data Protect integrates with QuickBooks 2011 and later, though functionality on very old or discontinued versions may be limited — if you're on a version Intuit no longer supports, online backup services may not function reliably regardless of setup steps.
When to Get Help
If you're setting up online backup for the first time on a business-critical file, migrating backup services after upgrading QuickBooks versions, or troubleshooting a backup that's failed repeatedly, getting it right the first time matters more than with most QuickBooks settings — a backup you think is working but isn't defeats the entire purpose. For hands-on setup help or troubleshooting, exploring online backup options for QuickBooks with a specialist can save you from discovering a gap only when you actually need to restore something.
Frequently Asked Questions
Is Intuit Data Protect free? It's included with QuickBooks Desktop Pro Plus, Premier Plus, and Enterprise subscriptions at no additional cost.
How often does Intuit Data Protect back up my data? Daily, on a schedule you set during setup.
Can I back up more than just my QuickBooks files? Yes, depending on your plan — you can choose to back up your entire computer, not just QuickBooks company files.
What should I do if my online backup keeps failing? Confirm both QuickBooks and Intuit Data Protect are fully updated first, since this resolves a large share of common failures.
Bottom Line
- Intuit Data Protect is Intuit's built-in online backup service, included free with Pro Plus, Premier Plus, and Enterprise.
- Setup takes just a few steps through File > Back Up Company > Set Up/Activate Online Backup.
- Online backup and manual local backup serve different purposes — using both is a reasonable approach.
- Keep both QuickBooks and Intuit Data Protect updated to avoid the most common backup failures.